Golf Sim Chicago / Chicagoland
DIY Golf Simulator Kits
Build it yourself. Don’t design it alone.
Start with your room, not a shopping cart. We can help you work through the parts, clearances, and tradeoffs before you commit to a DIY build.
A room-specific parts list starts with a consultation, not an instant download. Equipment, compatibility, support, and scope must be confirmed in writing.
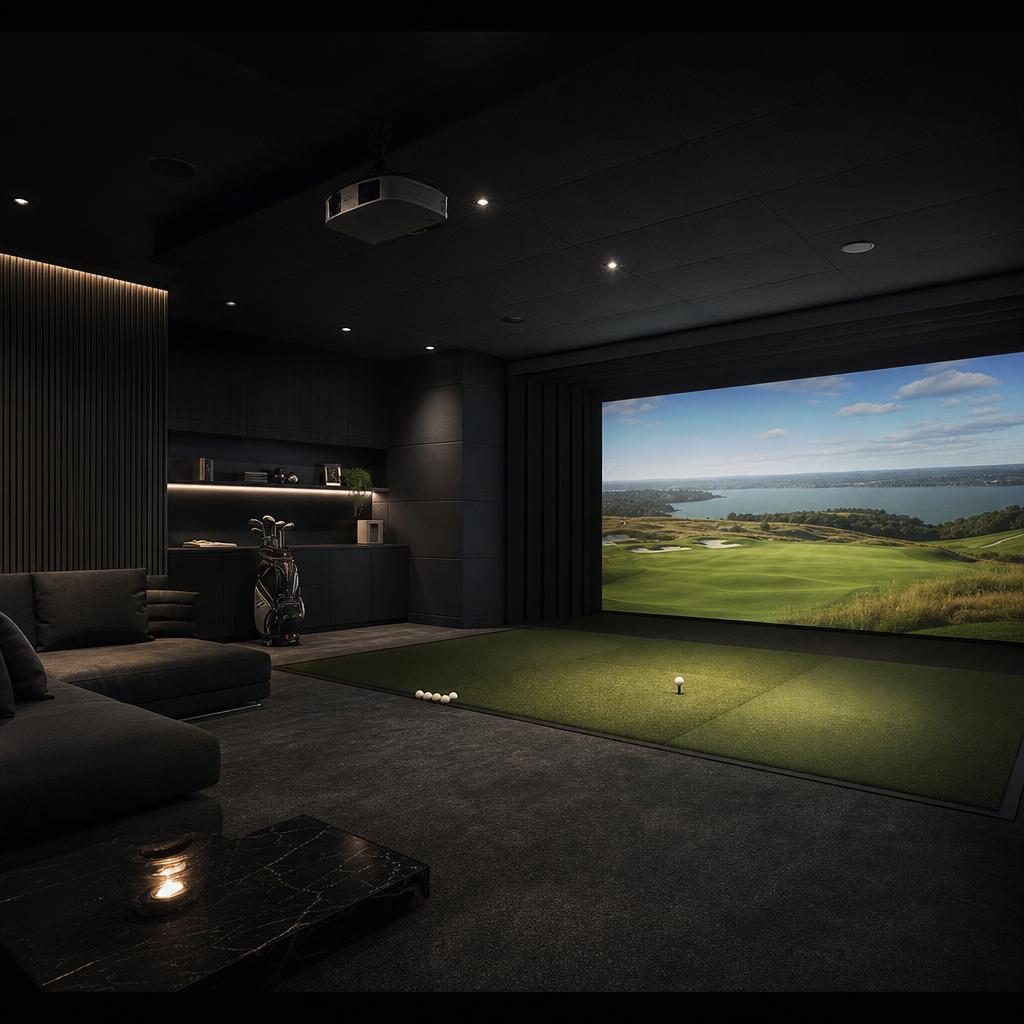
What’s in a DIY kit
These component prices are illustrative planning ranges, not quotes or verified current retail prices. Your room and selected equipment determine the actual components and cost.
Launch monitor: Measures ball flight and, depending on the model, club data. Its required placement can change the whole room plan. Typical price range: $1,500–$15,000+.
Screen + enclosure: Catches the ball and creates the image surface. Size, frame position, side protection, and material all matter. Typical price range: $1,200–$6,000+.
Hitting mat: Gives you a repeatable hitting surface. Consider comfort, durability, and the height of the surrounding floor. Typical price range: $350–$2,000+. Learn why we use Big Moss hitting mats when comparing hitting surfaces.
Projector: Fills the screen with the simulation image. Throw distance and brightness need to suit the actual room. Typical price range: $900–$5,000+.
Gaming PC: Runs the simulator software and sends the image to the projector. Requirements vary by software and resolution. Typical price range: $900–$3,000+.
Software: Turns tracking data into practice sessions and courses. Licenses, subscriptions, and course fees vary. Typical price range: $250–$2,000+ / year.
Three kits we’d recommend exploring
Starter, Performance, and Tour are example concepts, not fixed bundles or final prices. Equipment, room work, taxes, delivery, software, and assistance require a written quote.
Starter (~$8–10K) — best for A hands-on owner prioritizing practice over a built-in finish. Example components: Entry-level launch monitor direction; Impact screen and basic enclosure; Hitting mat or strip; 1080p projector direction; PC and software requirements to confirm.
Performance (~$15–20K) — best for Frequent play in a dedicated room with a more refined bay. Example components: Mid-range launch monitor direction; Padded enclosure and upgraded screen; Replaceable hitting insert and turf direction; Brighter projector direction; PC and software requirements to confirm.
Tour (~$25–35K) — best for An owner planning a premium room and more demanding tracking setup. Example components: Premium or overhead tracking direction; Room-scaled screen and protection; Premium hitting surface; Higher-end projection direction; PC, software, and finish requirements to confirm.
Discuss a DIY direction Compare golf simulator costs in Chicago
Does your room have the space?
The interactive planning check uses a starting envelope of 11 ft width × 15 ft depth × 9 ft ceiling, and a recommended starting point of 13 ft width × 18 ft depth × 10 ft ceiling.
Dimensions alone cannot establish a safe fit. Test the full swing for each golfer and club, and check the specific launch monitor, screen, and projector requirements before ordering.
DIY or professional installation?
Compare the route that suits your time, confidence, and finish expectations. Neither option is automatically right for every room.
Cost — DIY: Equipment, materials, tools, delivery, and any paid help. Usually less installation labor; final cost depends on scope. Professional installation: Equipment plus quoted design and installation labor. Usually a higher upfront total.
Your time — DIY: Plan for purchasing, room preparation, assembly, testing, and troubleshooting. Professional installation: Time for planning decisions and access; the quoted installation work is handled for you.
Effort — DIY: You measure, source, assemble, mount, connect, and test. Professional installation: A defined installation team handles the work included in its written scope.
Risk — DIY: You own measurement errors, mounting decisions, damage risk, and safe setup. Professional installation: Installation responsibility is defined by the quote; room and safety decisions still need review.
Support — DIY: Confirm manuals, setup help, provider, limits, fees, and component warranties in writing. Professional installation: Confirm walkthrough, warranty, and any ongoing help in the installation quote.
Finish quality — DIY: Depends on your skill, tools, and time; a clean result is possible but not automatic. Professional installation: A more coordinated finished-room result when finishing work is included in scope.
What assembly actually involves
Time estimates are rough hands-on planning allowances, not a schedule or included service. They exclude shopping, shipping, renovations, and licensed trade work.
1. Measure and test the swing (1–3 hours): Measure usable space, beams, doors, and the full swing of every golfer. Check both handednesses if needed.
2. Plan and prepare the room (Half day to several days): Mark the hitting position, screen, protection, power, network, lighting, and cable paths. Trade work may need a licensed professional.
3. Build the enclosure (4–8 hours): Assemble the frame, mount the impact screen, and add side and overhead protection per the selected manufacturer instructions.
4. Set the hitting area (2–5 hours): Level and secure the hitting surface and any surrounding floor treatment. Leave appropriate room for stance and ball return.
5. Mount and connect equipment (3–7 hours): Position the launch monitor and projector to their actual specifications, route cables, and connect the PC.
6. Install software and test (2–6 hours): Activate software, set image geometry, calibrate tracking, and test shots before regular play.
Start with the room
Share rough dimensions, a few photos, intended golfers, and your budget. A parts list or installation quote is scoped after that conversation, not delivered as an instant download.
Frequently asked questions
Do I have to buy every component through you?
No. Tell us what you already own or plan to source. A consultation can help define a coordinated parts list, but exact compatibility, procurement, and exclusions must be confirmed in a written quote.
What if my ceiling is under 10 feet?
A lower ceiling may still be possible for some golfers and configurations, but a dimension alone cannot establish a safe fit. Test a full swing with the intended clubs and check the equipment requirements before buying.
Can the room support both right- and left-handed players?
Potentially. It affects width, hitting position, swing clearance, and tracking placement. Mention every intended golfer at the start so both sides can be evaluated.
Can you install it if the DIY route becomes too much?
You can ask about a separately scoped professional installation for a Chicagoland project. The work, timing, and price would need to be reviewed and quoted before installation begins.
What support comes with a DIY kit?
Do not assume remote setup or assembly help is included. Ask which manuals and planning or setup support are available, who provides them, their limits, and any fees. Confirm component warranty responsibilities in writing.
Are software licenses and subscriptions included?
Not necessarily. Ask the quote to identify the software, license type, compatible hardware, activation, any included term, renewal costs, and optional course fees.
Plan your golf simulator project
Share your room, goals, and questions with Golf Sim Chicago.